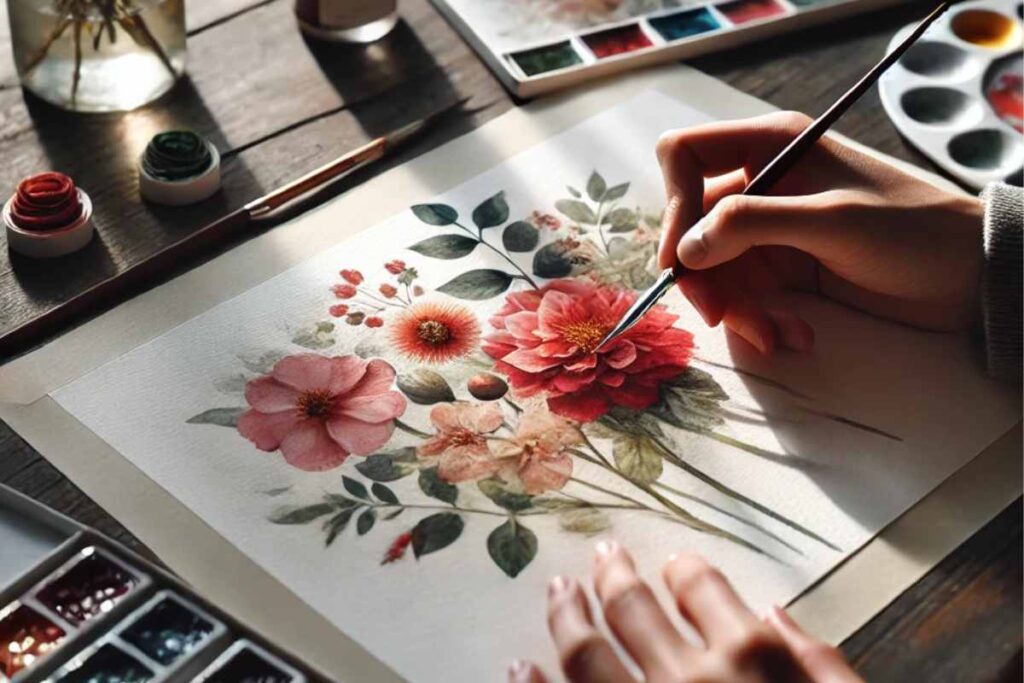
Welcome to Your Oil Painting Starter Pack
New to oil painting? Don’t worry — you don’t need fancy tricks to paint flowers. In fact, a few easy brush techniques can take you far. Let’s break down how to start simple and look professional.
Brush #1: Flat Brush – Block & Build
Start bold. Flat brushes are perfect for blocking in flower shapes. For roses or poppies, press the brush flat and sweep in a semicircle. Do it again for the next layer and voilà — you’re layering petals!
Brush #2: Angular Brush – Sharp & Smart
Angular brushes give crisp lines and interesting edges. Perfect for petal edges or sharp leaf tips. Use it for orchids or lilies — flowers with pointed shapes benefit most here.
Brush #3: Round Brush – Dot & Drag
Dot the paint in the flower’s center using a round brush, then drag outward for a natural stroke. You’ll find this super handy for daisies and wildflowers. Easy, right?
Blending Hack: Wet-on-Wet
Try this: use a damp brush to soften edges of still-wet oil paint. This “wet-on-wet” method helps your petals blend without harsh lines. Just remember to clean your brush often or the colors will turn into mud!
Closing Thoughts
Painting with oils doesn’t have to be complicated. Choose a brush, learn what it does, and keep experimenting. Your flower doesn’t have to look real — it just needs to feel alive.
